4.1 - Getting started with WPF
In order to customize a nodes UI, and to affect the its state and the graph an explicit custom node is needed. Explicit custom nodes are more complex and use Windows Presentation Foundation (WPF) a powerful UI framework for building Windows applications.
Sample App
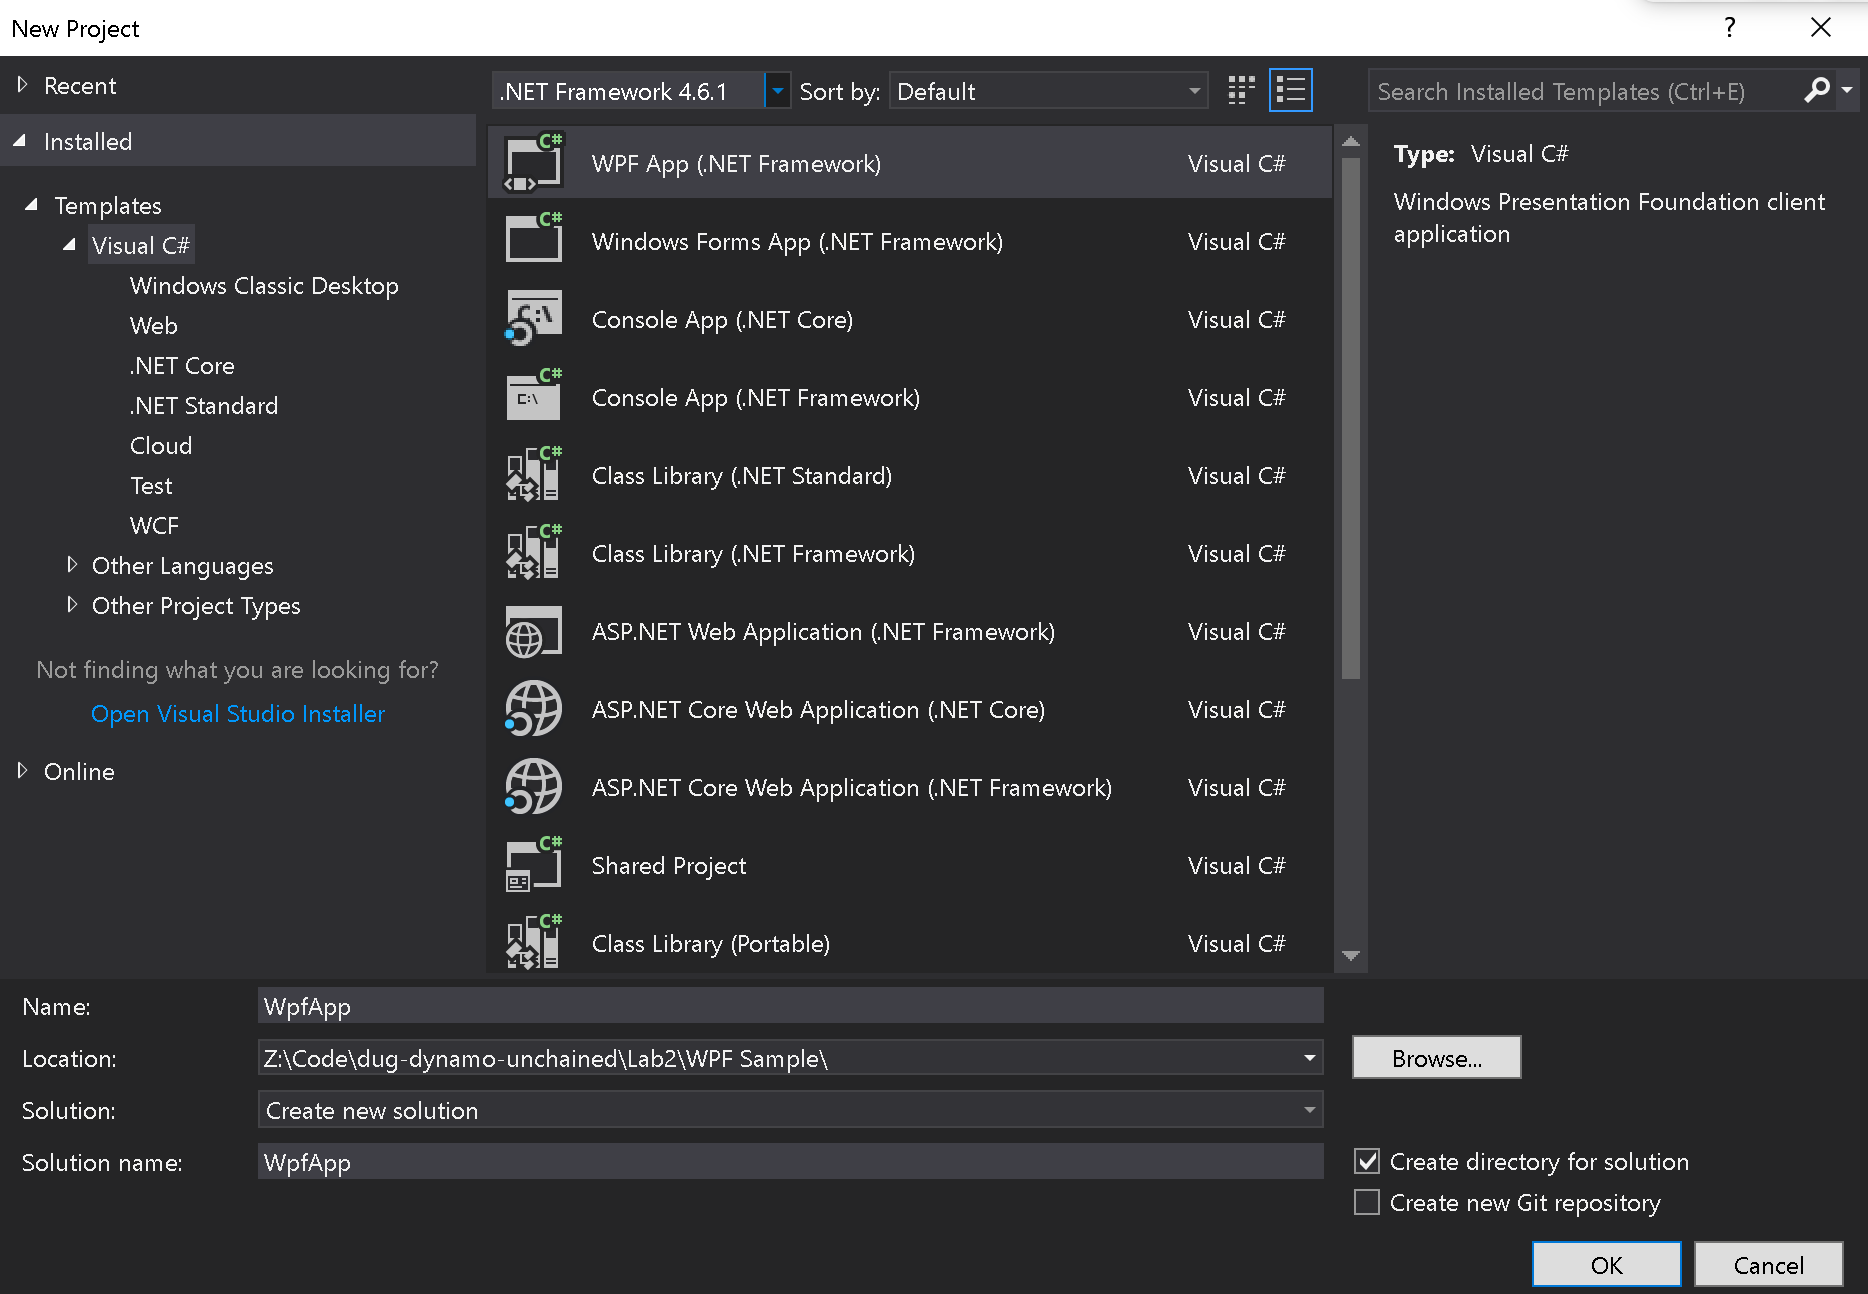
Let's first make a simple WPF application, to see how it works. Open Visual Studio and create a new WPF App project:
You'll see a MainWindow.cs and a MainWindow.xaml, XAML (eXtensible Application Markup Language) is Microsoft's variant of XML for describing a GUI.
Now double click on MainWindow.xaml, expand the toolbox panel and add some UI controls as a slider, a checkbox and a button:
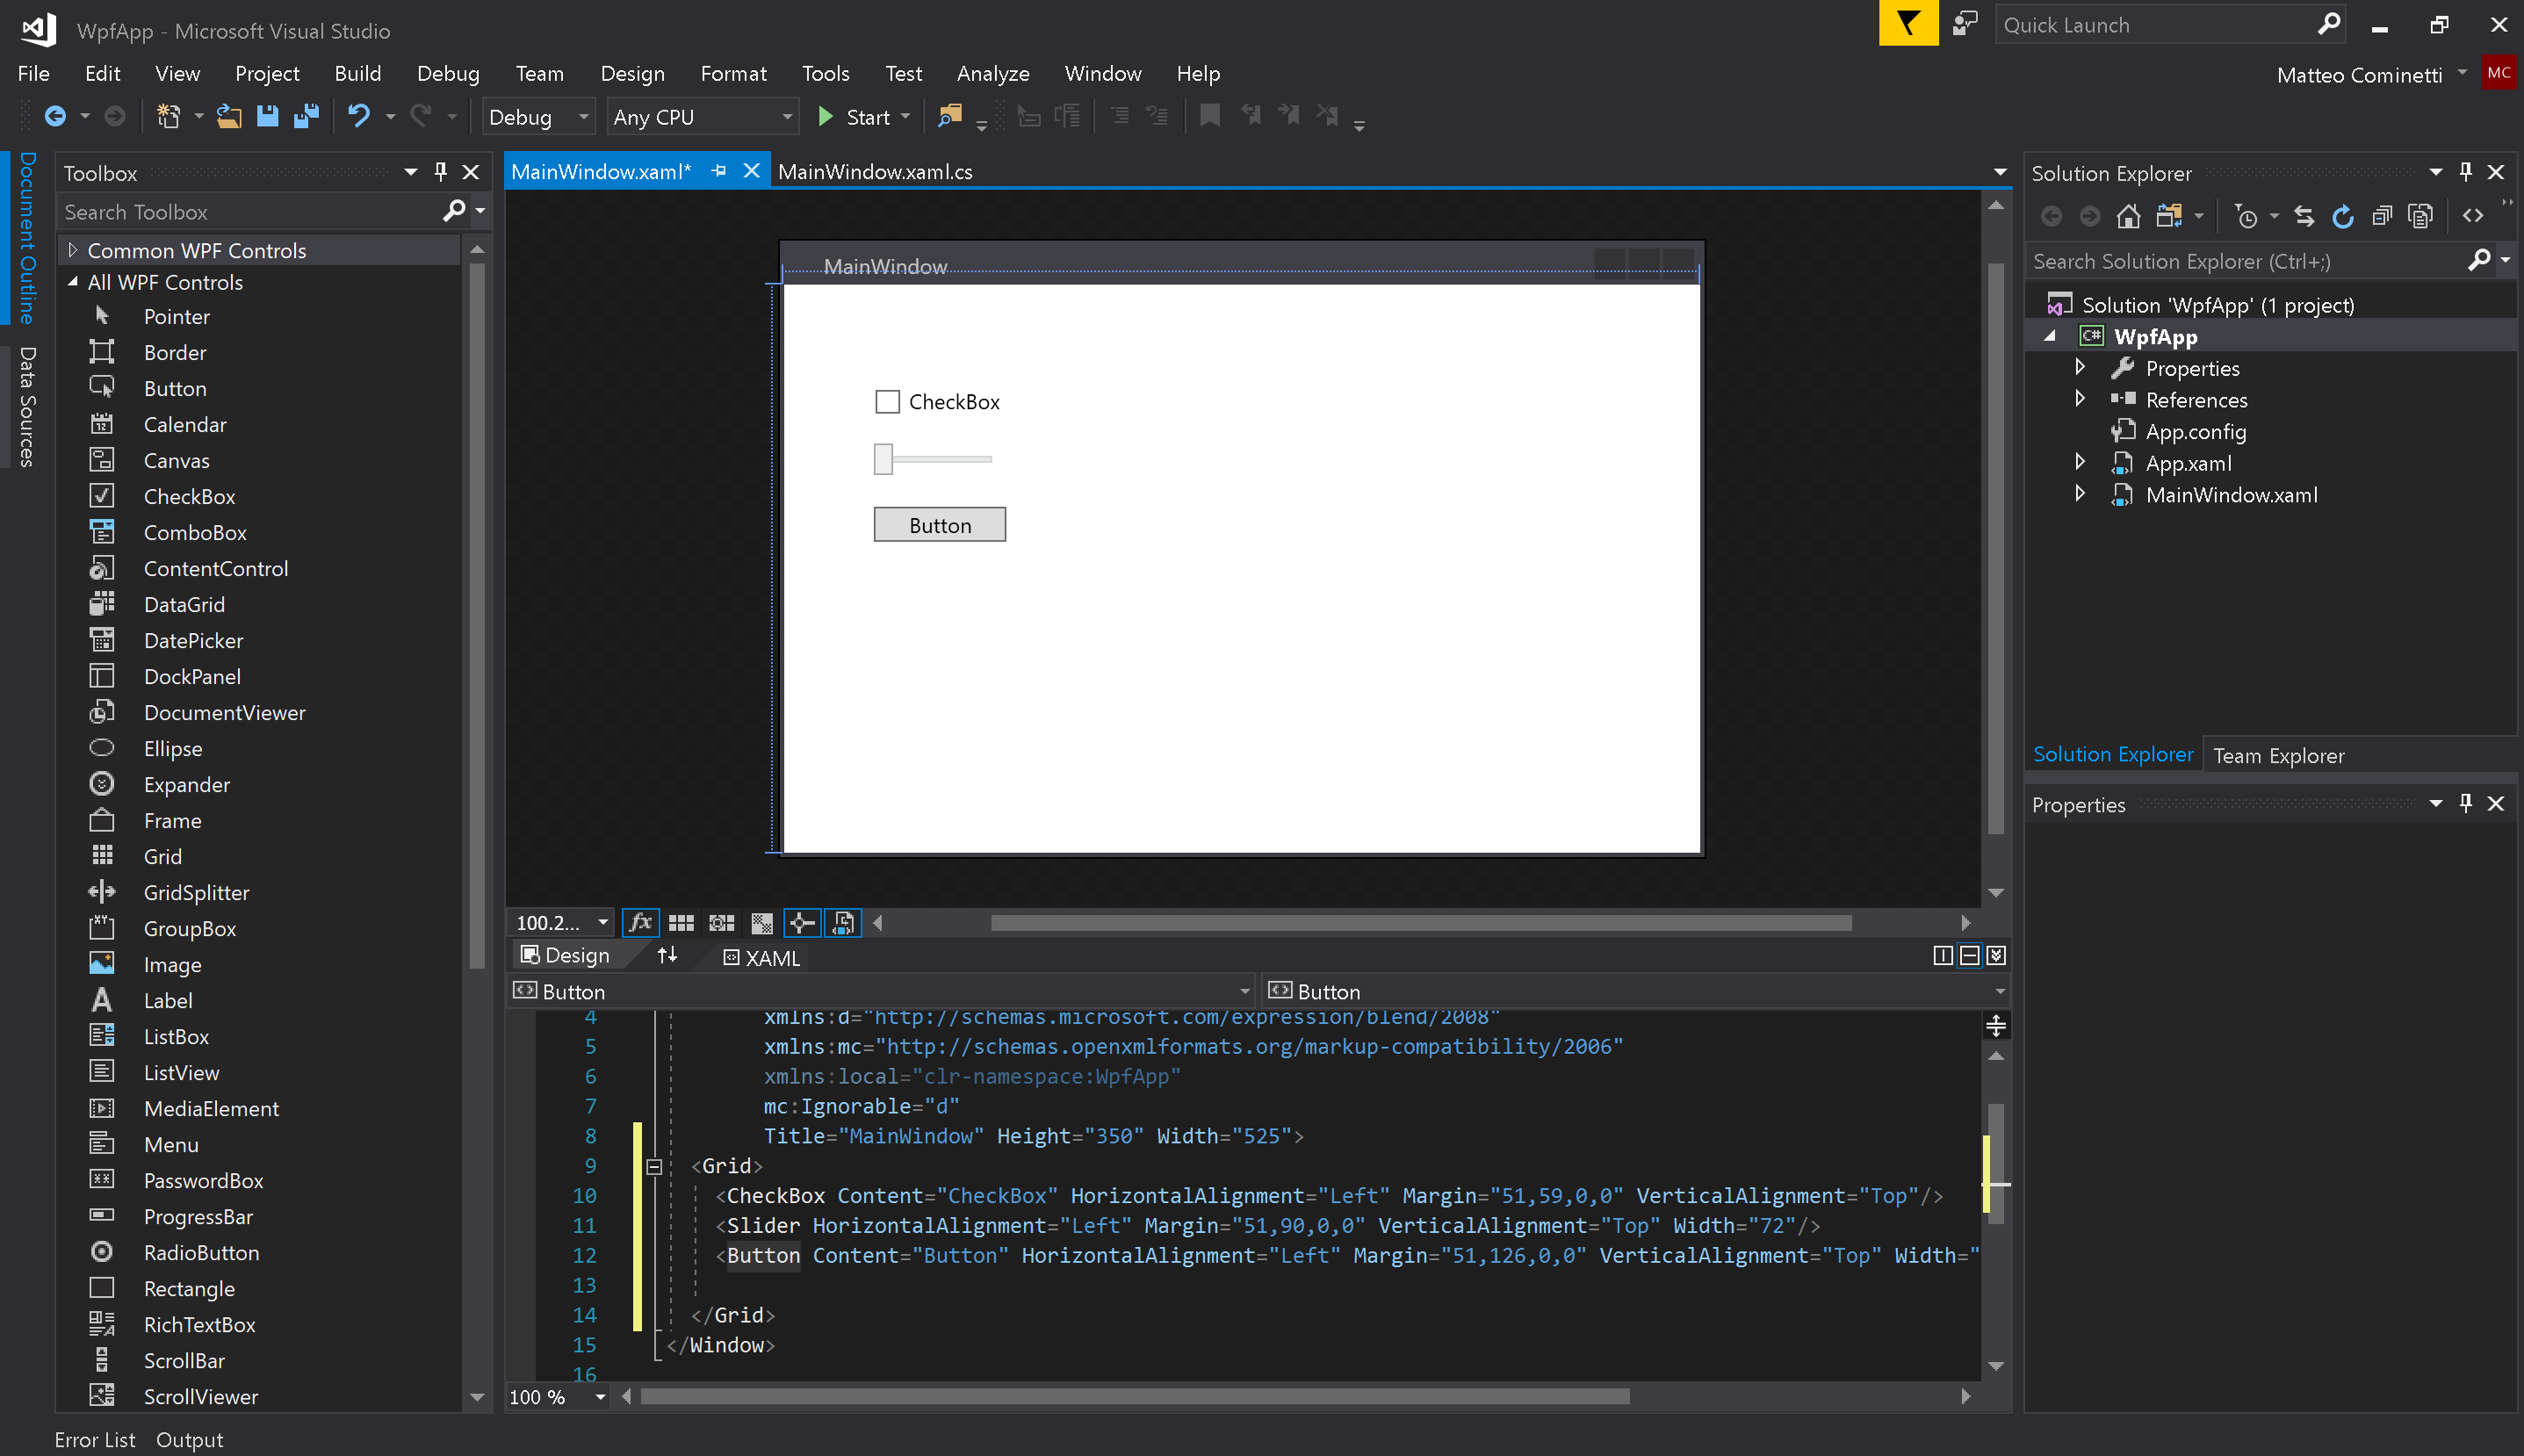
As you see VS has automatically created XAML tags corresponding to these UI elements, let's now edit it so that from these controls we can call methods in the C# code behind. We are going to add names to the controls, set Grid.RowDefinitions to better layout the controls, change a few properties and add a Click event to the button:
<Window x:Class="WpfApp.MainWindow"
        xmlns="http://schemas.microsoft.com/winfx/2006/xaml/presentation"
        xmlns:x="http://schemas.microsoft.com/winfx/2006/xaml"
        xmlns:d="http://schemas.microsoft.com/expression/blend/2008"
        xmlns:mc="http://schemas.openxmlformats.org/markup-compatibility/2006"
        xmlns:local="clr-namespace:WpfApp"
        mc:Ignorable="d"
        Title="MainWindow" SizeToContent="WidthAndHeight">
  <Grid Margin="10">
    <Grid.RowDefinitions>
      <RowDefinition Height="Auto"/>
      <RowDefinition Height="Auto"/>
      <RowDefinition Height="Auto"/>
    </Grid.RowDefinitions>
    <CheckBox Grid.Row="0" Margin="5" Name="EnabledCheckBox" Content="Enabled" HorizontalAlignment="Left" VerticalAlignment="Top"/>
    <Slider Grid.Row="1" Margin="5" Name="ValueSlider" HorizontalAlignment="Left"  VerticalAlignment="Top" Width="100"/>
    <Button Grid.Row="2" Margin="5" Click="Button_Click" Content="Click me!" HorizontalAlignment="Left"  VerticalAlignment="Top" Width="75"/>
  </Grid>
</Window>
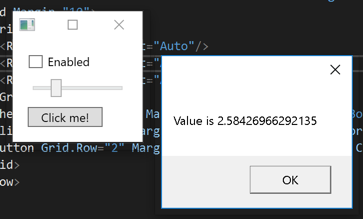
Now in the code behind (MainWindow.cs) we can add the following function that will show up a 'MessageBox' with the slider value when the button is clicked:
private void Button_Click(object sender, RoutedEventArgs e)
{
  MessageBox.Show("Value is " + ValueSlider.Value);
}
Run the application and you'll see it working!
WPF Binding
A very powerful feature of WPF is binding, it provides a simple and consistent way for applications to present and interact with data. Let's see what it means with a simple example, edit your button XAML code by adding IsEnabled="{Binding ElementName=EnabledCheckBox, Path=IsChecked}", it will look like:
<Button
  Grid.Row="2"
  Width="75"
  Margin="5"
  HorizontalAlignment="Left"
  VerticalAlignment="Top"
  Click="Button_Click"
  Content="Click me!"
  IsEnabled="{Binding ElementName=EnabledCheckBox, Path=IsChecked}" />
If you run the app you'll see that as the checkbox is unchecked the button becomes disabled, we have bound the checkbox IsChecked property to the button status. Binding not only works between components, but also with the code behind.
User Controls
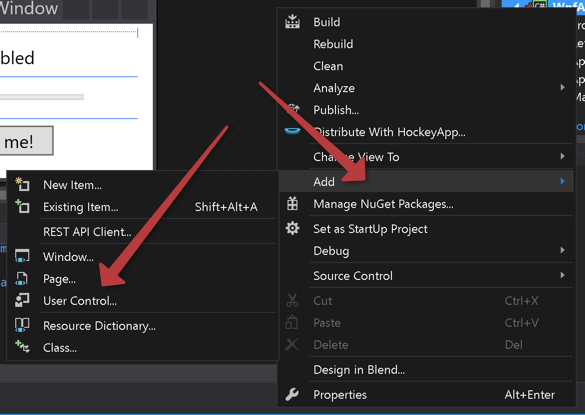
Let's finally see how easy it is in WPF to create custom controls, right click on the project > Add > User Control and create a new one, I named mine MyCustomControl.xaml.
Now, from the XAML panel replace the content of <Grid>...</Grid> in MyCustomControl.xaml with the one in MainWindow.xaml. As do the same for our Button_Click function in MainWindow.xaml.cs and move it to MyCustomControl.xaml.cs.
We have now created a reusable custom control that we can embed inside other WPF controls. To add it to MainWindow.xaml we just need to save and add the xmlns:local="clr-namespace:WpfApp" attribute to the <Window> element as below and a <local:MyCustomControl/> XAML tag for this custom component inside the XAML <Grid> :
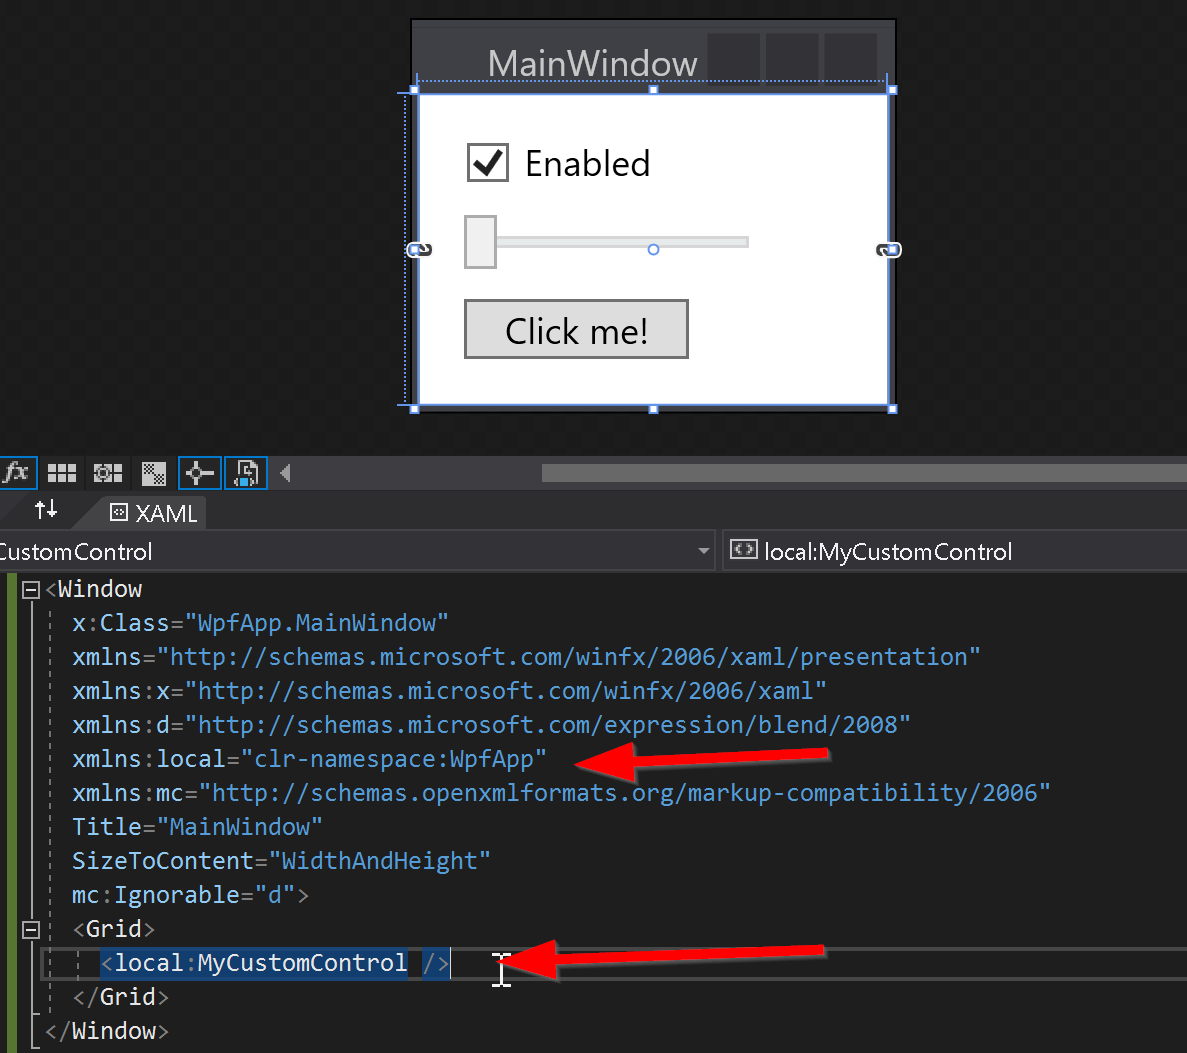
If you build and run the application you'll see it behaves exactly how it did before.